If you’ve ever spent time looking for ways to decorate your home you’ve probably heard of the concept of an accent wall.
While there are many ways to create an accent wall, one of the most common is to use paint.
You can opt for a solid color, or you can create a truly unique wall using one or more paints combined with designs created using painter’s tape.
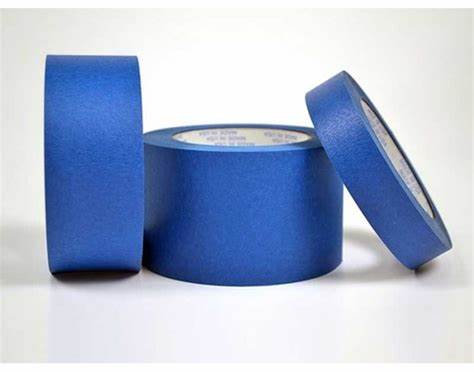
If you’ve never heard of painter’s tape you’re missing out on one of the best tools a home decorator can have in their arsenal.
As you can imagine, it’s tape, but it has only light glue on the back of it so it is easily removed once you’ve finished using it.
Traditionally, it’s used to protect trimwork, or other areas of the wall that you don’t want painted, however there are a lot of other ways it can be used.
Check out the following painter’s tape techniques that can be used to create a design that’s truly yours.
1. Stripes
Use painter’s tape to create stripes.
Nobody says you have to cover the entire wall – use multiple stripes of varying widths to easily create a stunning accent wall.
Here’s a detailed tutorial that will give you a good idea how easy it is to get this look.
2. Straight edge design
Cover your wall with the blue tape to guarantee a straight edge, covering the entire surface where you plan to add a feature.
Next, break out a pencil and a ruler.
Then measure and mark your pattern on the tape.
Use a craft or utility knife to cut out the spaces that you want painted.
Here’s a great example of this technique that was used to create artwork. The same principle can be applied to an accent wall:
3. Curves
If curves are more your thing it’s possible to use any number of things such as a plate, a coffee can lid, or other round item to create them.
Using your round item as a pattern, trace out the curves onto your work surface. Then follow the line with your tape, adjusting as needed to fit the curve.
Another option is to use a string to create a curve that you can use as a guideline.
Here’s a good tutorial that shows you how to do just that.
4. Stencils
Tear long, straight strips of tape and stick them to wax paper.
Next, use a ruler and a pencil to sketch out your stencil.
Then cut out your spaces where the paint will be applied.
Think of a reverse image, or a negative when creating your stencil.
In other words, remember that the areas where you remove tape is where the new coat of paint is going to shine through. So, once you have a design in mind remove the bits of the tape where you want paint to hit and leave the rest of the tape to finish the look.
For more details, check out this cool tutorial by Design Love Fest.
5. Freehand
Finally, design an accent wall that suits both your decor and your personality.
Cut out and piece together tape in unique sizes and shapes to create a truly unique design for your accent wall.
Check out this flower design mural that was made freehand using tape.
If you like this post, check out these:
Decorating for Fall on a Small Budget

