While replacing a sliding glass door is probably not something you want to attempt if you’re a novice DIYer, it is something you can do yourself.
With the right materials and tools at hand it’s fairly easy to do and can easily be done in a few hours if you know what you’re doing.
Style of door
Begin by figuring out the kind of sliding glass door you plan to use.
Each type of sliding glass door has one door that remains fixed in place whereas the other slides on a track allowing access to the outdoors.
The track is installed into the jam or framework of the door. The most common materials used in the construction of a sliding glass door are wood and fiberglass.
Some sliding glass door designs also include transoms or sidelights which let in even more light.
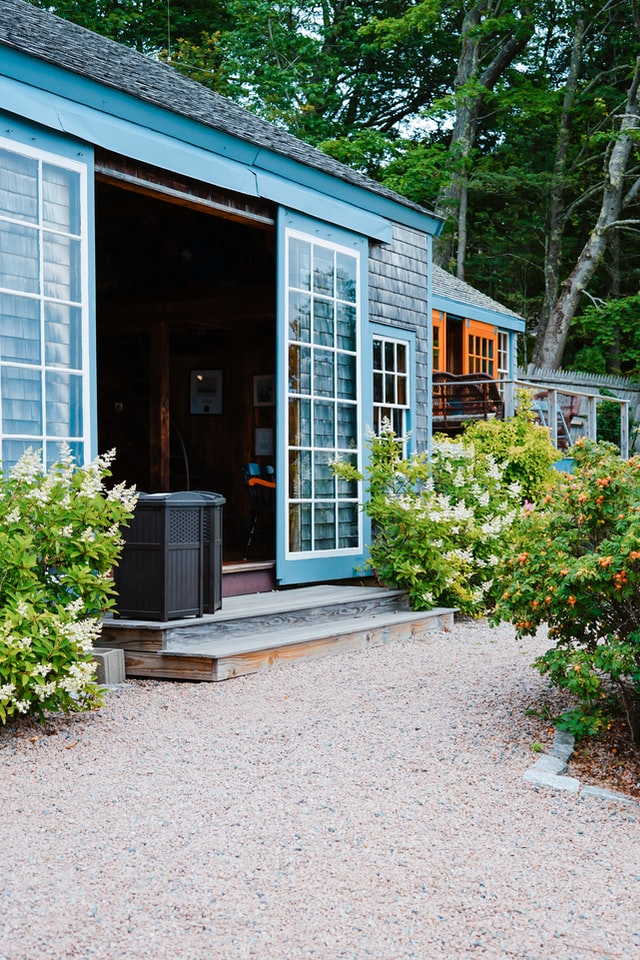
The classic full pane is one of the most common styles that you’ll see in many homes, however there are more contemporary options such as sliding glass doors with different pane designs (similar to French style doors) including styles with inset sliding windows with bug screens.
Once you’ve visited your local home improvement store (or browsed their online website) and found the style you love, you’ll need to measure your existing door to get the right fit.
Measure both the outside and inside dimensions of the door frame. This will allow you to purchase the right size and minimize the need for any unnecessary framework if the doors are too small (or big) for the opening.
Note: If you’re installing a sliding glass door into a newly made opening (e.g. whether you’re expanding an existing window or you’ve cut an entirely new hole in the side of your house) you’ll need to take the same measurements.
Most sliding glass door kits come with framework that will need to be installed on site before you can install the doors. You’ll need, at minimum, a screw gun or drill and wood glue to install the framework.
Remove the existing door and framework
Remove the door and the jamb. Once you’ve done this repair any damages before replacing the framework and installing the door. (Note: as glass doors can be very heavy, get some help with both the removal and installation part of the process)
Begin by taking off the trim work, both inside and outside. Use a utility knife to score the caulking and paint to minimize damage to the walls.
Next, using a putty knife, pry the trim away from the door enough to allow room for a flat bar. Use the bar to remove the trim work as gently as possible from the walls. If you’re careful enough, these pieces can be reused, minimizing the finishing work that you’ll need to do once the new door is installed.
Lift the sliding panel out of place and set aside. Next, remove the nails and screws that are securing the existing frame before removing the rest of the door and sill.
Install the new doors, paying attention to fit
Finally, install your new sliding glass doors, following the detailed instructions for installation that come with them.
Use caulk and shims where needed to ensure the door fits the opening. Proper fit is essential so take your time to ensure that the door is plumb and there are no water or air leaks.
Note: You may need to modify the 2 by 4 framework in the opening, so be prepared for this before removing the existing door.
For tips like this one, check out these blogs:
Inside and out: How folding doors could suit your home