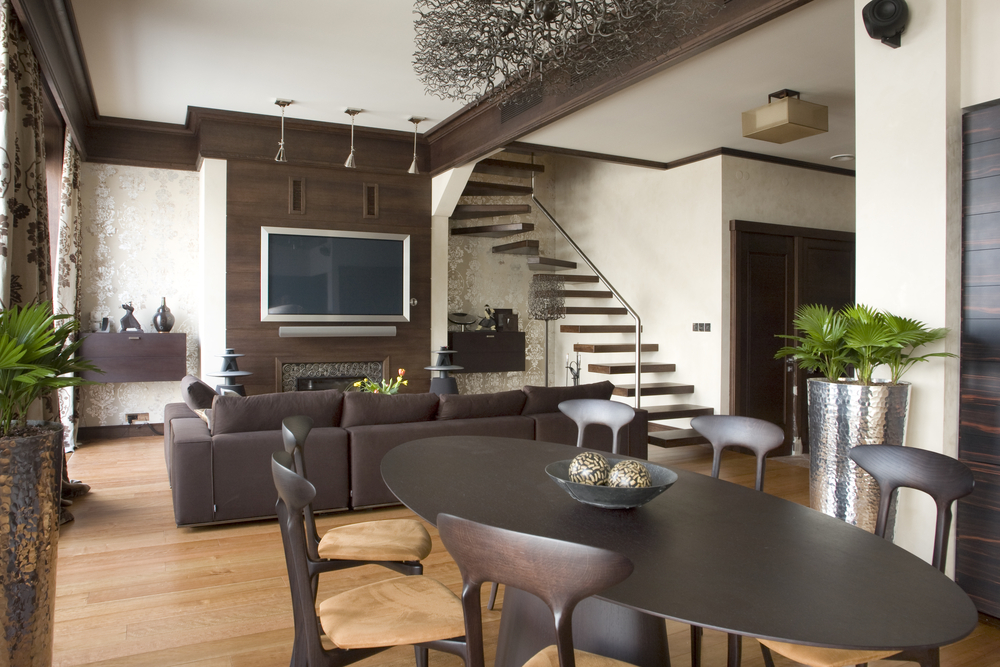
If you’re interested in tackling some easy home-transformation projects this summer, updating your walls and furniture can make a noticeable impact on your living space. You might think you need a different layout or new, high-end furniture to achieve your dream home, but little improvements here and there can help elevate your space.
Read MoreHow to Install and Benefit from Solar Panels on Your Home
More and more homeowners are considering adding solar panels to their homes. By now, it’s no secret: There are numerous benefits to adding solar panels, namely reduced energy costs and making an environmentally friendly choice.
However, adding solar panels does require a significant investment. According to Forbes, installing solar panels costs $16,000 on average. For many homeowners, the cost is worth it for the long-term savings, but it’s certainly a hurdle to consider.
Read MoreHow to Fund Your Project: HELOC vs. Home Improvement Loan or Other

Making improvements to your home can increase its value, make it more energy-efficient, or just make it more comfortable to live in. However, house improvements can also be very costly. That’s why, if you’re considering making home improvements, one of the most important decisions you’ll need to make is how you’ll fund them.
Read MoreHow to Install a Tub Surround

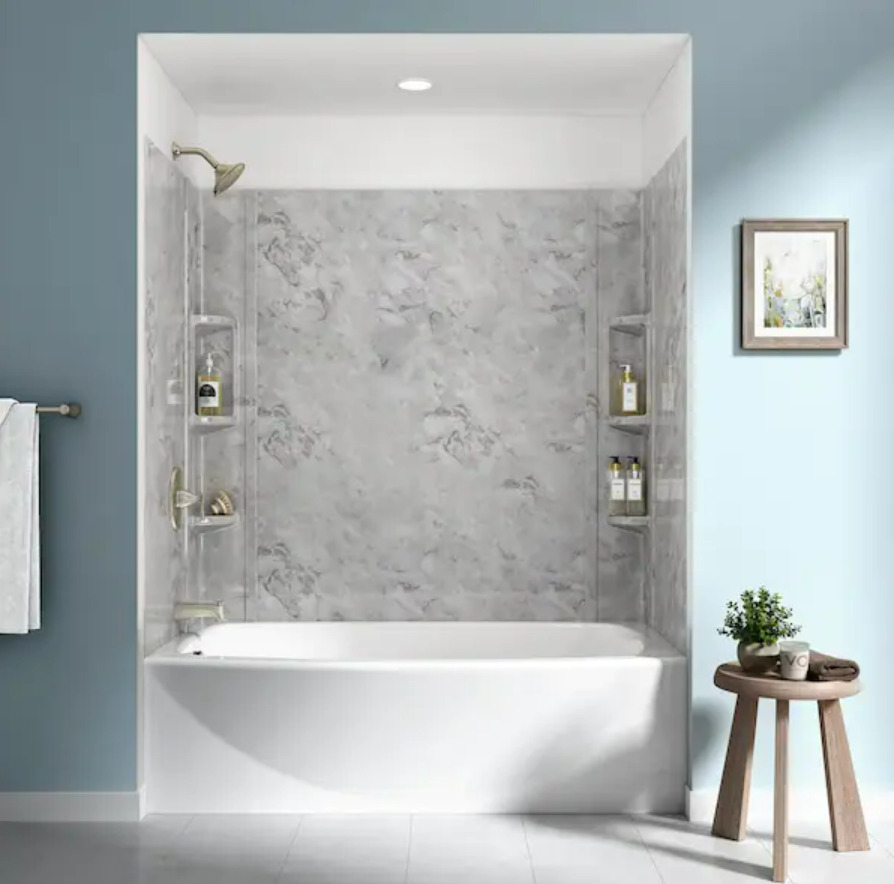
Installing a tub surround over an existing tub can be a great way to update your bathroom without the need for a complete renovation.
With the right tools and some basic knowledge, this project can be completed in just a few hours.
Read on for step-by-step instructions on how to install a tub surround over an existing tub.
Preparation
Before you begin, it is important to ensure that your existing tub is in good condition. Look for any cracks or damage that may need to be repaired before you proceed. You should also remove any old caulking or adhesive from around the tub.
Step 1: Measure the tub
Measure the length and height of your tub to determine the size of the tub surround you will need. Be sure to measure the width of the tub as well so you can cut the surround panels to the correct size.
Once you have determined the size of the tub surround, choose a material that is durable and easy to clean, such as acrylic or fiberglass. Consider the color and style of the surround to ensure it complements your bathroom decor.
Step 2: Cut the tub surround panels
Using a circular saw or a jigsaw, cut the tub surround panels to the correct size. Use a straight edge or guide to ensure precise cuts.
After cutting, sand the edges of the panels with a fine-grit sandpaper to smooth any rough edges.
Tip: Be sure to wear safety goggles and a dust mask when cutting the panels.
Step 3: Dry-fit the panels
Before you begin installing the tub surround, dry-fit the panels to ensure they fit properly around the tub. Use a level to ensure that the panels are straight.
Step 4: Apply adhesive to the panels
Using a notched trowel or caulking gun, apply adhesive to the back of the panels, following the manufacturer’s recommended amount of adhesive. Be sure to apply enough to ensure that the panels stick securely to the wall.
Tip: Work in small sections to prevent the adhesive from drying out before the panels are installed.
Step 5: Install the panels
Carefully place the panels on the wall, starting with the back panel and then the side panels. Use your straight edge or level to line them up, then press firmly to ensure they are securely attached to the wall.
Step 6: Install the corner trim pieces
There are many different types of trims available for tub surrounds, including ceramic, PVC, and wood. Choose the type of trim that will best suit the style of your bathroom and the level of moisture exposure in the area.
The adhesive you choose for the installation will depend on the type of trim you are using. For example, silicone adhesive is ideal for ceramic tiles, while PVC adhesive is suitable for PVC trims.
Install the corner trim pieces by applying adhesive to the back of the trim and then pressing it firmly into place. Be sure to use a level to ensure that the trim pieces are straight.
Step 7: Install the trim
Apply adhesive to the back of the top and bottom edge trim pieces and press them firmly into place, checking with your level to ensure that they’re straight.
Step 8: Caulk around the edges
Once the adhesive has dried, use caulk to seal the edges of the tub surround. This will help prevent water from seeping behind the panels causing damage to the walls, ceiling and flooring.
Step 9: Clean up
Clean up any excess adhesive or caulk using a damp cloth. Allow the tub surround to dry completely before using the tub or shower.
Note: It is important to ensure that the area is well-ventilated during the drying process. This will help to prevent the growth of mold or mildew.
As you can see, with a little bit of patience and the right tools, you can transform your bathroom into a modern and stylish space that you will love for years to come.
If you are unsure about any of the steps, consult a professional or watch video tutorials to ensure that you get the job done right.
Home Spas: How to Choose One That’s Right for You
Considering Radiant Heated Floors in Your Remodel? Here’s What You Should Know
7 Ways to Refresh your Bath on a Budget

Kitchen or bathroom renovations are among the most popular home improvement projects. But the cost of renovating these two rooms is also the highest. Most of us put this renovation on some sort of “one day wish list” while in the meantime we daydream while browsing Pinterest.
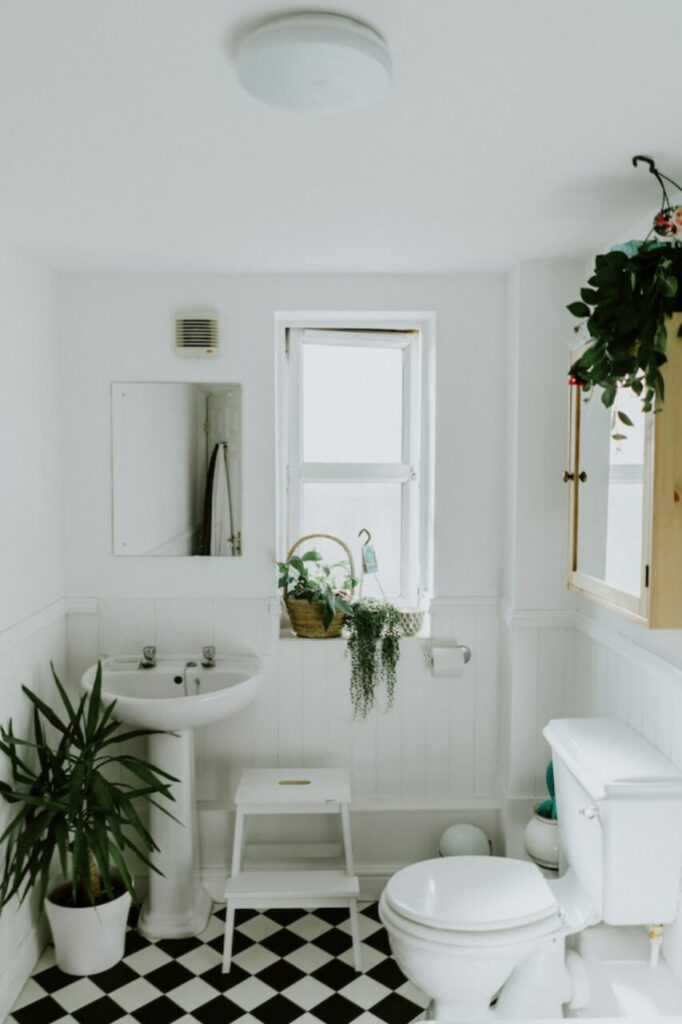
Fortunately, you don’t have to do a full scale renovation to make that old bathroom feel new, look fresher, and look more stylish.
Here’s how to make an outdated bathroom feel fresh:
Read More


