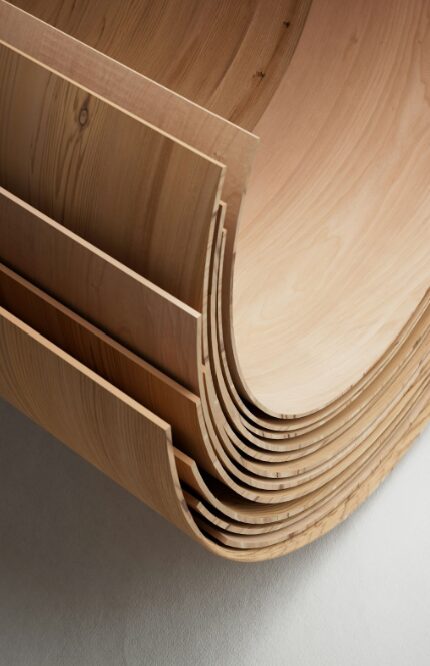
If your cabinets appear a bit worn, but you’re not ready to replace them entirely, veneer could be your ideal solution. Veneer is a thin layer of wood or laminate that you can add to your existing cabinet surfaces to provide a fresh, modern appearance without the expense or upheaval of a complete remodel.
It’s stylish, cost-effective, and surprisingly approachable—even for those of us who wouldn’t call ourselves DIY pros.
In this post, we’ll walk through why veneer is such a smart option, how to prep for the project, what types to choose from, and the key dos and don’ts to make sure your cabinets come out looking great.
Why choose veneer to refurbish your cabinets?
First off, veneer is a budget-friendly alternative to replacing cabinets outright. It lets you work with what you already have, which also makes it a more sustainable option—less waste, less expense.
There’s also a huge range of finishes and styles to choose from, so whether you’re going for sleek and modern or warm and traditional, there’s a veneer out there that fits your style. It’s versatile enough to work in both kitchens and bathrooms, and it’s a solid choice for anyone looking to upgrade without gutting.
And yes—it’s DIY-friendly. If you’re comfortable with a utility knife and have a little patience, you can handle this.
Preparing for a veneer project
Before you start peeling and sticking, take a close look at your cabinets. Are they structurally sound? Veneer works best on flat, smooth, and stable surfaces. If the base is falling apart, no amount of veneer will save it.
Once you’ve confirmed your cabinets are good candidates, gather your tools: a utility knife, veneer glue or iron-on veneer, clamps, sanding tools, and a level. If you’re working with glue, you’ll want a roller or brush for smooth application.
Don’t forget safety. Veneer projects might seem low-key, but you’ll still need good ventilation (especially if using strong adhesives), gloves, and eye protection when cutting or sanding.
Choosing the right veneer
Veneer isn’t one-size-fits-all. You’ve got a few options:
- ⬥ Wood veneer: Gives a natural look and can be stained or sealed.
- ⬥ Paper-backed veneer: Flexible and easier to handle.
- ⬥ Peel-and-stick: Super simple for beginners.
- ⬥ Pre-glued (iron-on): No messy adhesives—just heat and press.
When choosing, consider the surrounding décor. Match tones with your countertop or flooring for a cohesive look. And if you’re veneering bathroom cabinets, go for moisture-resistant options to prevent peeling down the road.
The process
Start by thoroughly cleaning and sanding your cabinet surfaces. You want a clean, matte surface so the veneer can grip properly.
Next, measure and cut the veneer to size—leave a little extra on the edges to trim after it’s applied. If you’re using glue, apply a thin, even coat and use clamps to hold everything in place while it sets. For iron-on veneer, press with a hot iron using a barrier cloth and move slowly to activate the glue.
Smooth out any air bubbles as you go. A roller helps, but even a firm hand with a cloth can do the trick. After it’s all in place, trim the edges, add edging, clean, and finish things off with a sealant if needed. Swap out old hardware for a full refresh.
Common mistakes
A few things can trip people up:
- ⬥ Don’t apply veneer to warped or damaged surfaces. You’ll just lock in problems.
- ⬥ Don’t rush the adhesive process. Give it time to bond properly.
- ⬥ Always use a sealant in high-moisture areas, especially bathrooms.
- ⬥ Watch your grain direction and color tones. A mismatch can throw off the whole look.
Take your time and double-check your cuts before sticking anything down.
Maintenance and longevity
Once your cabinets are looking brand new, keep them that way. Clean veneered surfaces with a damp cloth and mild soap—no harsh chemicals. With regular care, veneer can last for years.
If you get a nick or bubble, don’t panic. Small repairs are easy with wood filler, a bit of glue, or a patch piece of veneer. It’s a lot more forgiving than people think.
Finally, using veneer for a cabinet makeover is one of the most cost-effective and approachable ways to refresh your space. It’s stylish, affordable, and totally doable for first-timers.
With a little prep, the right materials, and a steady hand, you can pull off a transformation that looks like a pro did it—without spending like one. So, if your cabinets are stuck in another decade, maybe it’s time to roll up your sleeves and give veneer a shot.
Have you tried any projects using veneer in your home?
What To Consider When Staining Kitchen Cabinets


