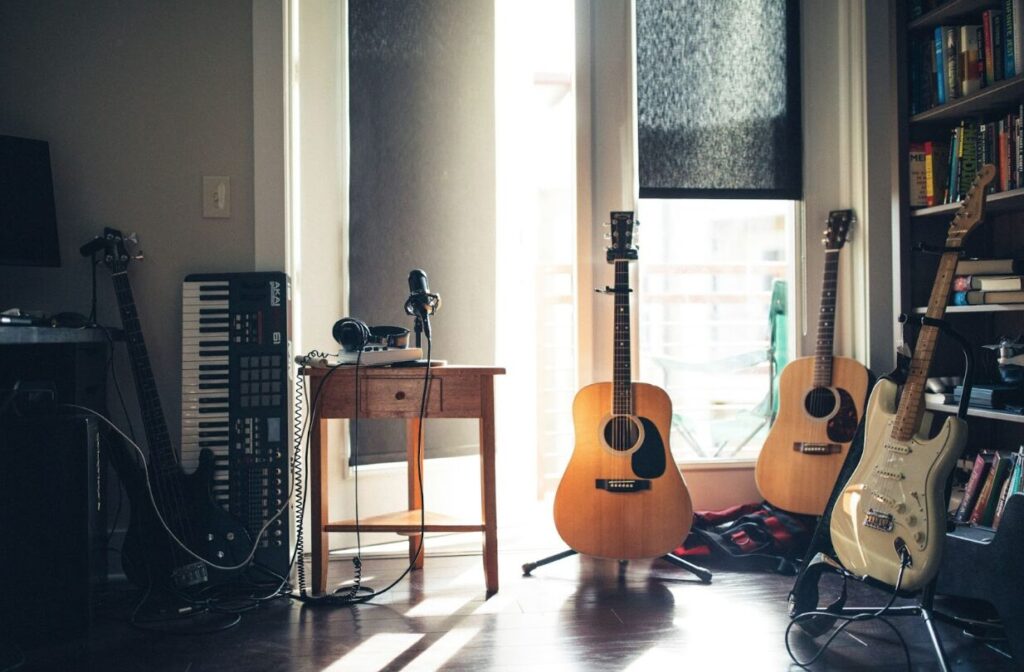
It doesn’t need to cost a fortune to create a space for your musical pursuits. With $5,000 (or less), a little planning, and some smart choices, you can absolutely pull this off.
Let’s break down how to make it happen.
1. First, Choose the Right Space
Start with what you already have. A spare bedroom? A chunk of the basement? Even part of a garage or a big walk-in closet can work. Repurposing an existing room keeps construction costs low…maybe even at zero, and that’s a win right out of the gate.
Size matters, sure, but smart sound treatment matters more. A smaller room can sound great with the right tweaks. Also, consider noise—if you’re playing loud instruments or recording, pick a room away from bedrooms or shared walls when possible.
2. Focus on Sound Treatment First
This is where the magic happens. Before worrying about gear or furniture, get your acoustics right.
Most untreated rooms have issues like echo, boomy bass, and weird reflections. The fix? DIY acoustic panels and bass traps. You can make your own with wood frames, insulation (rockwool or fiberglass), and breathable fabric. Tons of tutorials out there can walk you through it.
Corners are bass traps’ best friend—low-end frequencies build up there. Tackle those spots and your mix (or practice) will sound way clearer.
Want to go a step further? Consider some basic diffusion to scatter sound more evenly. It’s not a must, but if you’ve got a bit of room left in the budget, it’s a nice upgrade.
Also, don’t underestimate rugs and soft furniture. A thick area rug or a cozy couch can help tame high frequencies, and they’re way cheaper than pro acoustic gear.
3. Sound Isolation (If You Need It)
Trying to keep sound in or out? This gets a bit more technical—and potentially pricey—but there are budget-friendly options.
Start simple: Seal any gaps with acoustic caulk, especially around doors and outlets. Hang heavy curtains or moving blankets over windows. If your door is hollow-core (like most interior doors), upgrading to a solid-core one can make a real difference—and you might score a used one cheap.
If serious isolation is needed (like you’re recording drums at 11 p.m.), look into double drywall with Green Glue or even a floating floor. These are expensive, though, so only go this route if it’s absolutely necessary.
4. Source Materials Smartly
The DIY route will stretch your budget the farthest. Build your own panels. Paint your own diffusers. Hunt down deals on insulation, fabric, wood—whatever you need.
Check local listings, Facebook Marketplace, salvage yards, or surplus stores. You’d be surprised what people give away or sell for cheap.
Also, think creatively. Got an old bookcase? Repurpose it for gear storage. Grandma’s thick curtains? Instant sound absorber.
5. Don’t Forget Lighting and Power
Lighting can be a vibe-killer if you get it wrong. Luckily, it doesn’t have to be expensive.
Stick with your room’s existing lights if they’re decent. If not, add a few floor or desk lamps for a warm, cozy feel. And make sure you’ve got enough outlets for your gear—if not, talk to an electrician and budget accordingly.
6. Keep Furniture Simple (But Comfortable)
You don’t need a full-blown studio desk. A simple, strong table, a comfortable chair and some shelving is a great start.
Used furniture stores are your friend here. So are family members with too much stuff in the garage. Prioritize function over looks—you can always upgrade later.
Wall-mounted shelves or pegboards are great for keeping cables, gear, and accessories organized without taking up floor space.
7. Take It One Step at a Time
The key is prioritizing. Start with sound treatment, as this is the biggest reason why you want to move your pratice to its own space. Then handle isolation (if needed), then lighting, furniture, and decor.
Don’t stress about perfection. You can add and upgrade over time. The goal is to create a space that inspires you and supports your musical goals, not to mimic a million-dollar studio.
In short, you don’t need to spend a ton to create a space that sounds great and feels good to be in. With some elbow grease and smart planning, you’ll have a music room you’ll be proud of and that your neighbors won’t complain about.
What’s the first thing you plan to add to your music room?
How to Soundproof a Home Office
8 Tips for a Smooth Remodeling Project


