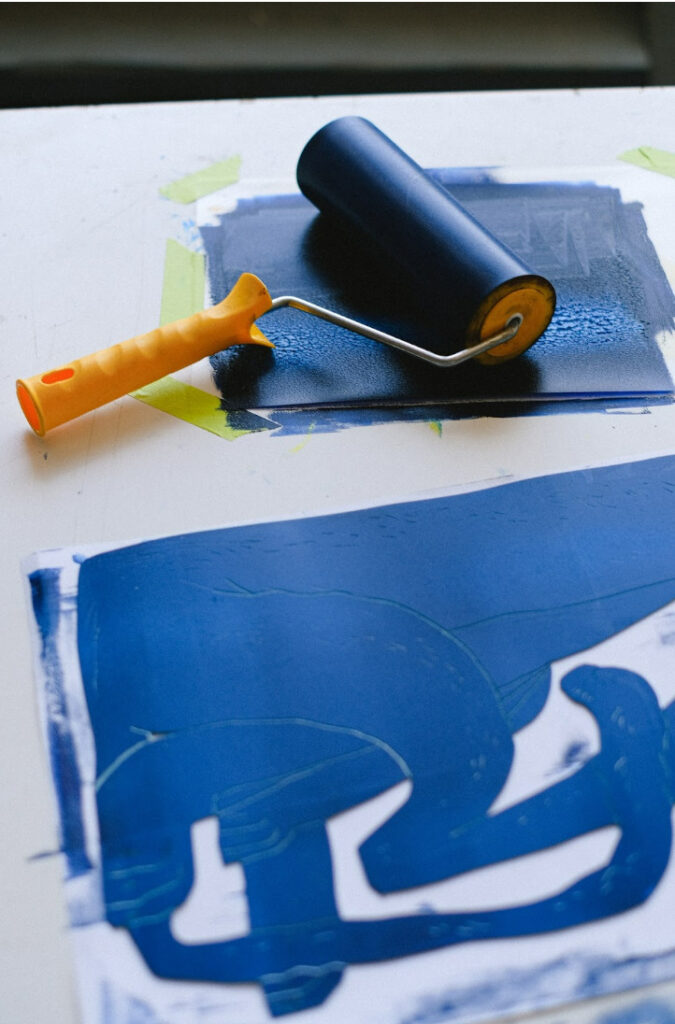
Stencils offer an easy way to create a totally unique look for any project. But as easy as it might seem to use them, the following tips can help you get the best results for your next painting project.
1. Correctly prepare the walls
First, check to see if the walls are dry and clean. Additionally, the wall must be flat and texture-free if you intend to use a stencil on it.
It’s hard to stencil over textured walls because paint seeps under the stencil whenever it is not flat against the wall surface. For best results use a flat or eggshell finish as a base wall coat.
Any higher sheen causes the stencil paint to adhere to the base coat less quickly, which results in significantly more bleed through underneath the stencil.
2. Fix the stencil to the wall
When stenciling, a great option is to use light-duty spray adhesive to keep the stencils attached to the wall. Given that the stencil is flush with the surface, this helps prevent bleedthrough.
If you prefer to use painter’s tape, it can be used multiple times and removes cleanly without removing any wall paint, making it an excellent choice for holding the stencil in place each time you need to move it.
3. Use a dauber or foam roller to apply the paint
A foam roller is an excellent tool if you are only using one color. There is a trick for calculating how much paint to use (read on to learn more), but you may have more success using foam rollers than nap rollers.
Foam daubers work great when stenciling in the corners or when using multiple paint colors. These are available in a variety of sizes which will transfer paint well and will help to reduce bleedthrough.
Another choice for stenciling in smaller spaces is stencil brushes. It works best to apply these over the stencil in a slightly circular motion.
4. Apply a clear acrylic primer coat or the base wall color first
Although this step is optional, it will change everything for you if you want incredibly clean lines. Basically, you’ll cover the entire stencil in clear acrylic paint or the color of your original wall before painting in the stencil color. After letting this paint dry (while maintaining the stencil in place), cover it with the stenciling paint color.
This step obviously takes a lot more time than the others, but it will result in the least amount of paint bleedthrough. In essence, the first paint—either the wall color or the clear paint—will just barely seep under the stencil.
The stencil paint color will then be applied on top, but since the first paint already showed through, there won’t be any places for it to do so. But since it’s clear or the original wall color, you won’t be able to see the first coat!
I would strongly advise this step if you are stenciling a surface that has a light texture.
Keep in mind that this is a time consuming step and is optional. If you use all of the other tips and your wall is flat, any bleedthrough won’t be too bad.
5. Use a very small of paint
If you want to reduce the amount of paint that seeps under the stencil, this is probably the most crucial tip.
Dab or roll some of the paint off on a towel or other surface after dipping or rolling your brush or roller into the paint. Excess paint shouldn’t be visible on the dauber or roller.
Then, without ever applying excessive pressure, lightly dab or roll the paint onto the stencil. Instead of pushing to get more paint off the brush, apply two light coats for much cleaner lines.
In conclusion, if you love the look of wallpaper, or you simply want to add a unique touch to your room, using these tips with stencils can help you create the look you love.

