Inspect exterior caulking around windows and trim area is an important home maintenance tip. By taking the time to inspect exterior caulking around your home, you will identify damage around your windows. And also determine if there are gaps that require filling or repair. Exterior caulking is usually around windows and other trim pieces on the exterior siding. These areas are exposed to harsh climate elements like heat, humidity, snow and rain. With these weather conditions and variations, outside caulking becomes worn. It is important to remove the old, cracked, and worn out caulking with new caulking. This new caulk will prevent moisture damage. Damaged and old caulk could cause water to get in your home and cause more problems. Old damaged caulk can cause water damage that gets into your home’s walls and can cause other more difficult to fix issues. Old and damaged caulking can also allow for air leaks into the house. Which will overwork your heating and air conditioning units. Therefore, increasing your energy bills.
Removing and replacing exterior caulk
The tools you need to remove all caulk and replace new caulk includes a utility knife, a scraper or putty knife, a caulking gun, and the appropriate exterior caulking product with the right color choice you want. Remember that the color could impact the look of your home so choose carefully.
The first step is to remove the old crack caulk by using the utility knife to cut away the edges, and a scraper to pull out all the old caulk. You should cut the tip of your tube of caulk to be slightly bigger than the joint you need to caulk.
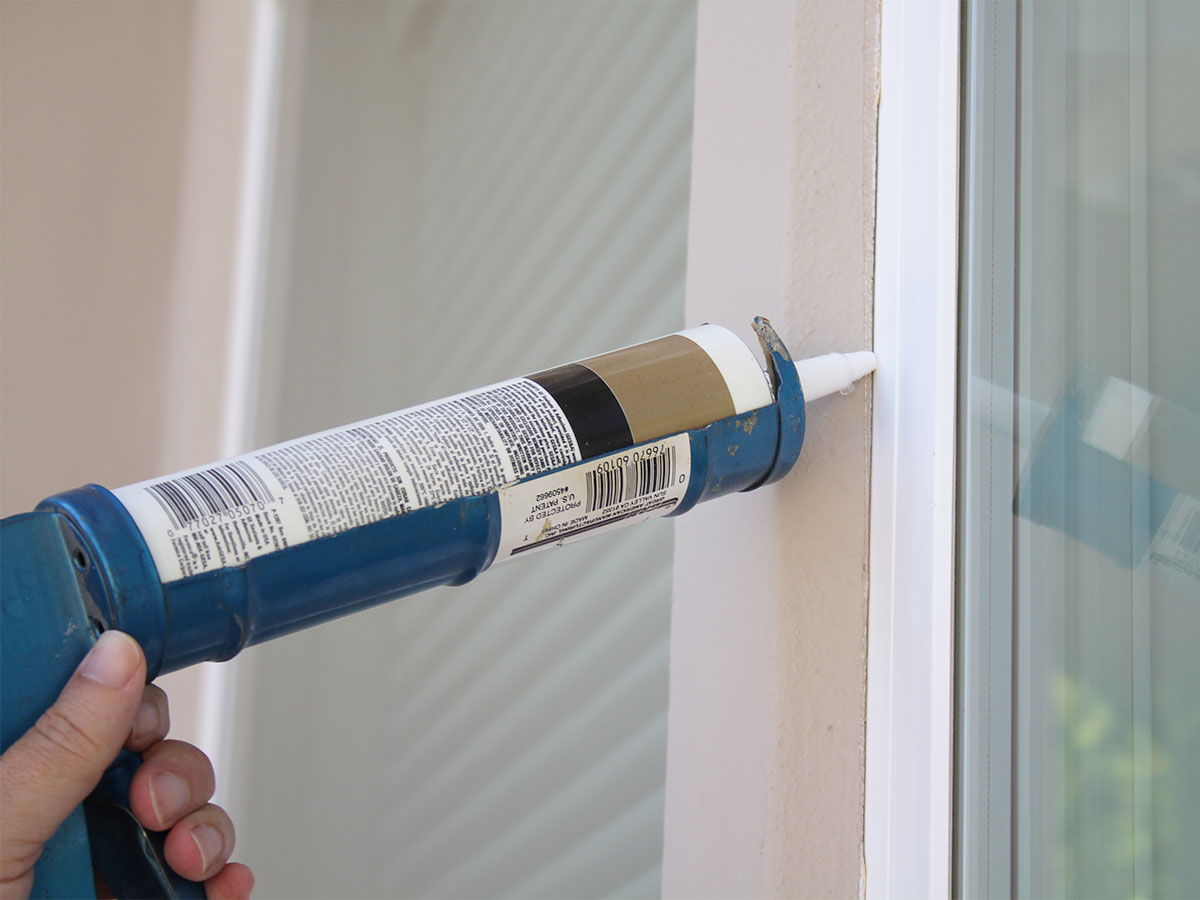
Insert the caulking tube into the caulking gun. Keep constant pressure on the gun as you go down a joint or across a vertical joint line. Here is a great video from Ron Hazelton on how to perform these steps.


2 Responses to “HomeZada Home Maintenance Tip: Inspect Exterior Caulking”