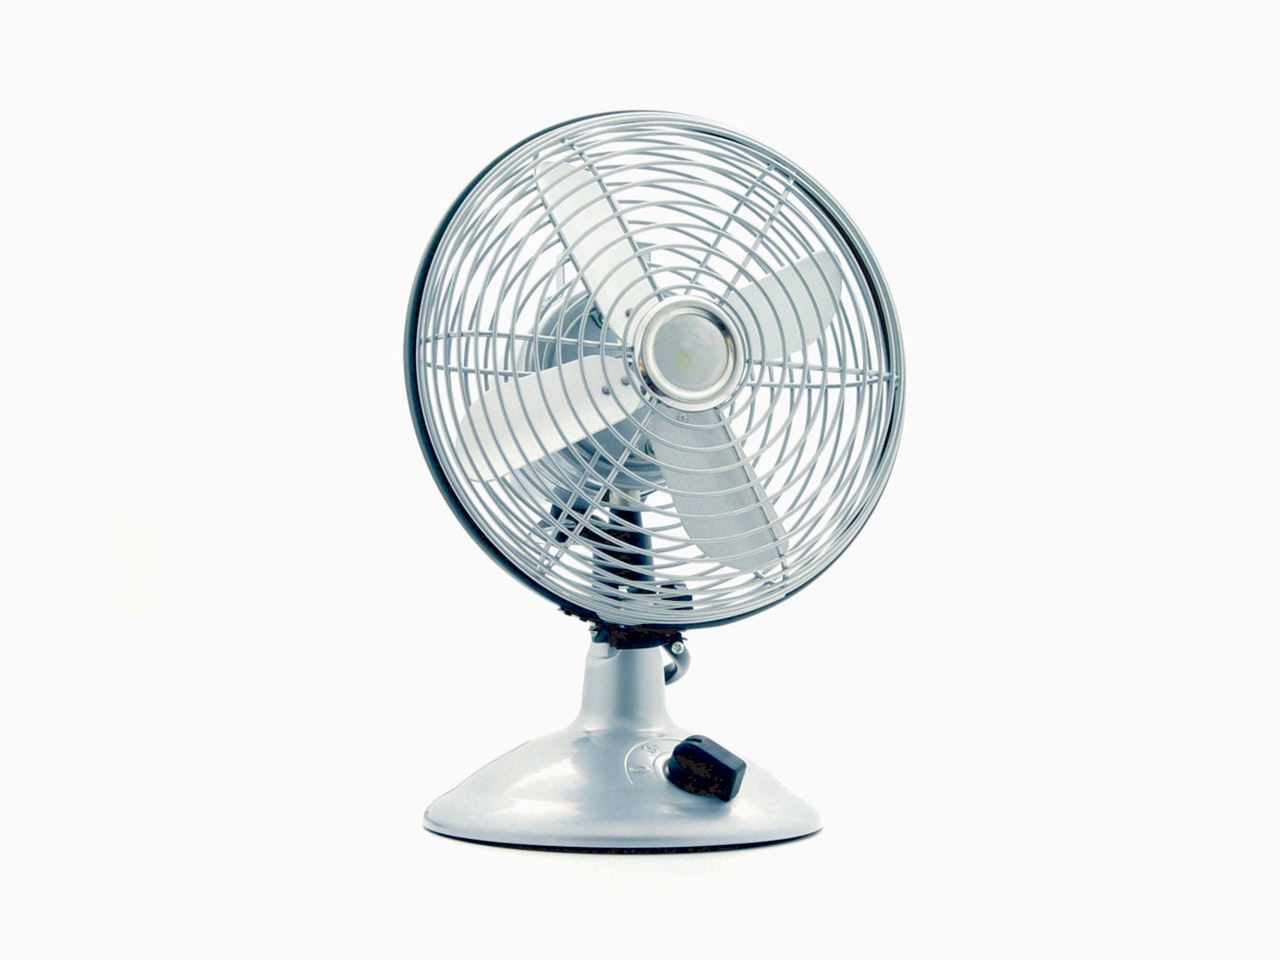
There’s nothing like a cool breeze on a hot summer day to make you feel better. But for those times when nature won’t provide a breeze, an electric or battery-powered fan will do the trick.
All fans, whether they are big box fans made by Lasko, oscillating fans, window fans, bladeless fans, misting fans, or hand-held fans, should be cleaned regularly.
Even with all the air moving around, the motor can attract dirt and dust, which can interfere with its performance, wear down the motor, and shorten your fan’s lifespan.
To keep your fan working at its best, it’s important to clean it regularly. Here’s how to clean any fan using a few common household items and equipment to keep your fan running smoothly.
Clean your fan regularly
Turn off the fan at least once a week and inspect the blades and housing for dust.
The amount of dust in your house determines how frequently you’ll need to dust your fan. However, cleaning on a weekly or biweekly basis is a good idea. In addition, you should deep clean your fans at least once a quarter, especially during periods of high use.
Gather your supplies
- ⬥ Screwdrivers (flat head and Philips)
- ⬥ Hairdryer
- ⬥ Vacuum cleaner with brush attachment
- ⬥ Microfiber cloth
- ⬥ Spray bottle
- ⬥ Dishwashing liquid
- ⬥ (Optional) Compressed air
Directions
Weekly cleaning
Always be safe. Unplug the fan first, or if it’s a battery powered fan, make sure it’s turned off before trying to clean it.
You don’t have to unscrew the fan to clean the blades on a weekly basis. Blow away dust from the blades’ surface with a hairdryer or compressed air.
If you’re using a hairdryer, use its coolest setting and keep it six to ten inches away from the blades.
Clean the rear of the blades as well by turning the fan around.
Use a vacuum
Vacuum all the surfaces of the fan with a handheld or full-size vacuum with a dusting brush attachment.
Starting at the top of the fan, vacuum the solid or wire protective casing. For bladeless fans, vacuum the interior of the ring. Pay close attention to any dust buildup on the motor exhaust vents and the electrical cord.
Wipe off smudges
Wipe any smudges on the housing using a damp microfiber cloth, paying particular attention to the controls. If it’s a pedestal fan, clean the pole and base too.
Deep cleaning
As before, turn off the fan and unplug it from the wall. For battery powered fans, remove the batteries.
Before disassembling your fan, check with the user manual (or the manufacturer’s website) for cleaning instructions. Disassembling your fan may void a warranty, so check first before attempting a deep clean.
Disassemble the outer housing
Use a screwdriver to loosen the screws holding the wire casing in place. Remove the clips that hold the wire mesh in place on many fans as well.
The rear wire housing may be secured to the motor housing by a heavy-duty nut that prevents removal until the blades have been removed.
Keep all the screws and small pieces in a small container so they don’t get misplaced.
Remove the blades
The blade cap on most oscillating fans secures the fan blades to the motor housing. Remove each blade by unscrewing the front cap.
Prepare your cleaning solution
Add two teaspoons of dishwashing liquid (one with grease cutting properties) and 3 cups of cool water to a spray bottle. Shake it to mix well.

Spray and clean
Lay the wire housing and fan blades in a bathtub or large basin. Saturate the components with the dishwashing liquid combination. Give the dishwashing liquid a few minutes to penetrate the grime. Then wipe clean all surfaces with a microfiber towel.
Note: Do not let any electrical parts come into contact with water.
Rinse and dry
After thoroughly rinsing each component with cool water, pat it dry with the microfiber cloth. After that, let them air dry for at least 30 minutes in a sunny, breezy area. Make sure each piece is completely dry before reassembling the fan.
Clean the remaining parts
While waiting for the housing and fan blades to dry, clean the remaining parts of the fan as you would during weekly cleaning. Pay special attention to the point where the blades attach to the fan. Use a vacuum dust brush to clear away any dust that has accumulated.
For bladeless or tower fans, remove and clean or replace the air filter if applicable.
Reassemble
Hopefully, you were paying attention when you disassembled your fan!
Beginning with the last piece you removed, reattach it to the motor base, replacing each piece in reverse order. After reassembling, you should have no extra parts remaining!