Tired of staring at that old linoleum flooring but don’t want to spend a lot of time – or money – to replace it?
Then paint it!
Linoleum flooring can be quickly and inexpensively painted to improve its appearance and usability in the home. However, one of the most crucial steps in the process is floor prep.
Benefits of painting over a worn-out linoleum floor
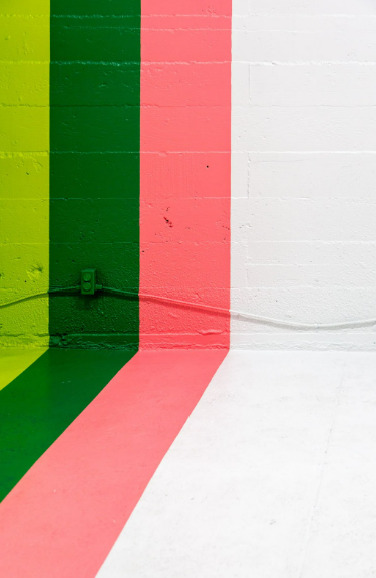
Think of your old linoleum floor as a blank canvas on which you can paint whatever you like. You can stop with a solid color, create your own design, or use a template to get the look you want.
When done correctly, many people who properly paint their floor get years of use out of it.
Pros:
- ⬥ Long-Lasting – There is no reason why the floor should not last for many years if it is painted properly.
- ⬥ Beauty – A painted floor can be a lovely addition to your house. Because you’re creating it you can enjoy a truly unique design.
- ⬥ Options – With many types of flooring, your options are at least somewhat constrained to what’s available and what is in style. You have countless options when you choose to paint your old linoleum floor.
- ⬥ Maintenance – A painted floor will be simple to keep clean. Just be gentle when cleaning and you’ll enjoy a lovely, long-lasting finish.
- ⬥ Cost – The majority of flooring types will run you hundreds or even thousands of dollars. Painting is a significantly less expensive option.
- ⬥ Time – Even if you would prefer tile or wood, covering linoleum with paint can buy you time until you’re ready to make a bigger investment in flooring options.
Cons:
- ⬥ Lots of prep work – Painting over linoleum requires a lot of preparation. In fact, the more effort you put into the floor’s preparation, the better the result will be.
- ⬥ Sanding is crucial – To ensure that the paint adheres properly, you must sand the linoleum. This adds an additional step and more work.
- ⬥ Easy to damage – You should exercise caution when moving furniture or anything else across the floor unless you use an application specific paint.
- ⬥ Time-consuming – Painting the linoleum floor has many advantages, but it will probably take more time than selecting a different kind of flooring.
- ⬥ Drying time adds to the project time – Since painting a linoleum floor involves several steps, it may take days to
Materials
- ⬥ Sander
- ⬥ Sandpaper (120 grit works well)
- ⬥ Deglosser
- ⬥ One-time use mop (or cloth wrapped over your existing mop)
- ⬥ Painters tape
- ⬥ Flooring paint
- ⬥ Paint roller(s)
- ⬥ Sealer
Floor preparation
Sanding
First things first, empty the room completely and give the floor a thorough cleaning. Then, to help the paint stick better, use a sander to sand the area down using 120 grit sandpaper.
It might seem like a daunting task to sand the entire room, but it’s really just like washing it on your hands and knees.
Remembering where you’ve been before is the most challenging part. By shifting position until the light is just right, you can see which areas of the floor are still glossy and which areas have been sanded.
However, it helps to simply go back and forth across the room until it’s completed, blocking out the room in “rows” using lines in your floor’s pattern as a guide.
Deglossing
Use an old mop and only water to clean the film of dust from the floor that’s accumulated after you’ve sanded.
Next, squirt some deglosser (a product that works well to remove sheen from furniture (or anything)), onto the floor, mop it around, and then wait for it to dry.
While the deglosser leaves a really milky film on the floor, it’s okay; you can paint over it without removing it first.
Painting linoleum floors
It’s time to start painting. Tape off the room’s perimeter along the floorboards. Begin painting by using a brush along the room’s border.
When it comes time for rolling, if you prefer, you can skip the paint tray and just dump rows of paint onto the linoleum and roll it on.
Simply pour rows of paint onto the linoleum and apply it with a roller. It’s faster, and you’ll have less cleanup! For complete coverage, two coats may be necessary.
Seal the floor
You can stop here and seal your linoleum with a water-based sealer of your choice if you’re just painting it a single solid color. If not, draw a design using a stencil, or freehand, then seal the floor to protect your hard work.
This project may have seemed like a daunting task at first, but by taking the time to plan out your vision, you’ll achieve a look that is uniquely yours.
Enjoy!
Five Types of Floors That Can Add a New Look to Your Home
Timeless vs. Trendy: How to Make the Most Out of Your Home’s Interior Design