Caulking breaks down over time in a bathroom between various plumbing fixtures and floor joints in a bathroom. Especially around sinks, bathtubs, and showers. If you don’t replace this worn out caulking, water can get under your floor tile and cause damage to the tiles, wood baseboards, and the sub-flooring itself. Make sure to inspect caulking in bathrooms periodically. Based on the wear and tear, you may also need to replace the caulk in your bathrooms.
Replacing caulk in bathrooms
In order to remove the old or worn out caulking, you will need a utility knife, a razor blade, and an old tooth brush. With the utility knife, cut the old caulking out of the area. Remove as much of the old caulk as you can in order to add clean fresh caulk. Use the tooth brush to remove any mold or mildew that has built up behind the caulk. This is another reason to remove old caulk. Mold and mildew can damage your areas. Mold and mildew will also cause health issues for the family. So before replacing new caulk, make sure mold and mildew has been removed.
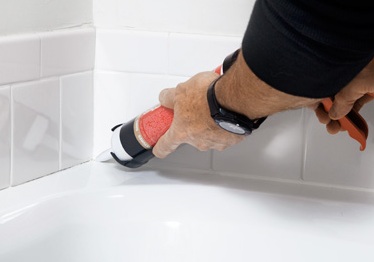
Make sure to use a caulk designed for kitchens and bathrooms. This is important as these caulks will withstand large sums of water. And choose the color caulk you want. You also need a caulking gun to apply the new caulk to the joints. Slowly and patiently apply the caulk to the area. Performing this task slowly will give a clean finish to the caulk.
Learn what else your house needs to stay healthy and efficient here.
Stellar work there evrnyoee. I’ll keep on reading.